How to Display Your WordPress Posts in a Grid Layout?
Are you looking to display your wordpress posts in a grid layout? Well, you have just found the right spot, as, in this guide, we are going to show you the easiest and quickest way to add a grid layout.
Quick Links
Though modern themes come in tons of features and customization options, still, there are several themes that don’t include a built-in grid layout. But fortunately, there are ways that will allow you to layout your wordpress site’s posts as a grid.
In this tutorial guide, we will show you how to display your WordPress posts in a grid layout. So, let’s dive into it.
How to Display Your WordPress Posts in a Grid Layout?
Basically, there are several ways that you can use to display your website’s posts in a grid layout. In this guide, we will show you two different methods, such as using the wordpress built-in feature and secondly using the plugin.
So, let’s see how to display your WordPress posts in a grid layout
Method 1: Built-In Features To Display WordPress Posts In A Grid Layout
WordPress.com comes in two different built-in blocks that can help you to display your posts in a grid. These are-
- The WordPress.com Blog Posts block, and
- The WordPress Query Loop block.
If you have a plugin-enabled site, then before you move forward to use any of these blocks, make sure to activate the WordPress.com Editing Toolkit plugin. So. let’s get started.
- The WordPress.com Blog Posts Block
This simple to use block is specially created for those who hosted their site on wordpress.com. To use this feature, all you need to do is, create a new page and do the following-
- Click on the inserter (+) button from your editor.
- Search for Blog Posts block and click on it.
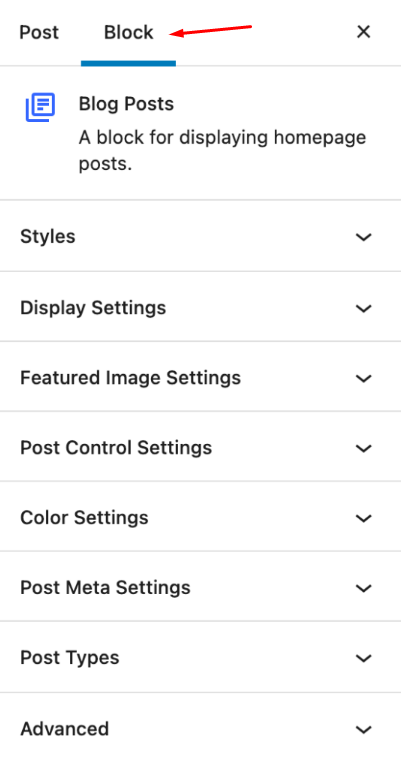
- Once you select the blog posts blog, you will get to see the following toolbar on your editor.

- From here, click on the Grid View option.
- After that, go to the right-side toolbar, select block, and you will get several customization options to optimize your grid functions. For example, changing the grid styles, display, featured image, post control settings, and many more.
- The WordPress Query Loop Block
It is a core wordpress feature, which is much more advanced, and you may find it a little more complicated than the above one. But, with this query loop block, you can create a completely custom template for your website post’s grid layout. So, let’s start with the steps-
- Just like before, click on the (+) inserter icon from your editor.
- Search for “Query loop” from the search bar and click on it.
- Once done, you will see the following toolbar, and from there, simply choose the Grid View option.

- Now, it will show you the preview of your posts in different layouts. Select your preferred one.
- Then, go to the Query loop block setting bar from the right side of your editor.
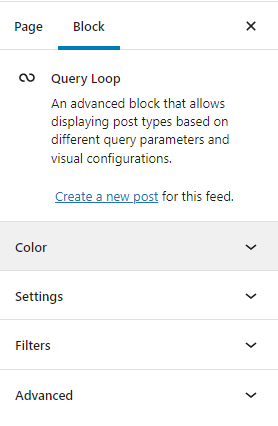
- From here you can customize the color of text and background, specify the post type, order your posts by (newest to oldest, oldest to newest, A → Z, Z → A), and include or exclude sticky posts. In fact, this query loop feature will allow you to filter your posts by categories, author, and keyword.
So, these are the two ways of displaying your posts in a grid layout using the basic wordpress built-in blocks. But if you want to do something extraordinary to display your website posts with more advanced functionalities and ease, using a plugin is the best option for you. Keeping this in mind, let’s move forward to our next method.
Method 2: Using Plugin To Display Posts In A Grid Layout
Plugins are one of the most effective, time-saving, and easiest ways to use a grid to display your posts most beautifully in a professional way. The best thing about using plugins is that there is no necessity to have special technical and coding skills.
Apart from all these, plugins come in lots of functions and customization options, which lets you create and display your post in a grid, just the way you want. So, for this section, we are going to use the best post layout plugin wordpress, which is the Gutenberg Post Blocks plugin. So, let’s start the process-
Step 1: Install The Gutenberg Post Blocks Plugin
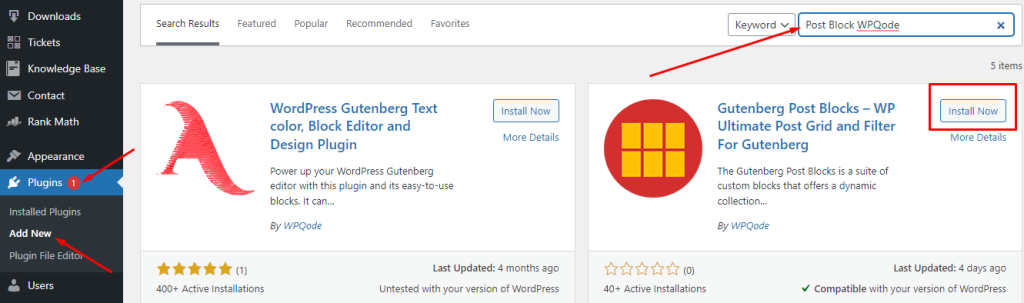
- At first, log in to your wordpress site, head over to Plugins from the dashboard, and click on it.
- After that select Add New from the drop-down menu.
- Next, locate the search bar from the top right side, and you need to search with “Post Block WPQode.”
- Then you will get to see the plugin; now, simply click on the “Install Now” button, and once done, simply activate it.
Step 2: Display the WordPress Posts Using The Post Block Plugin
Now that you are done with the installation and activation process let’s follow the processes to display your website posts in a Grid View. So, let’s get started-
Note: To use this plugin, you need to make sure that you are on block editor mode.
- Now, open a new page and give it a title.
- The next thing you need to do is, click the (+) icon from your Gutenberg editor.
- Now, type “post block” into the search bar.
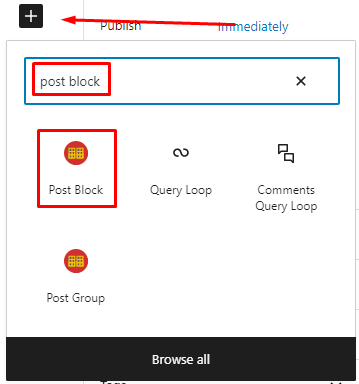
- Once you get the post block and click on it.
- Now, all your posts will be viewed with the default grid layout.
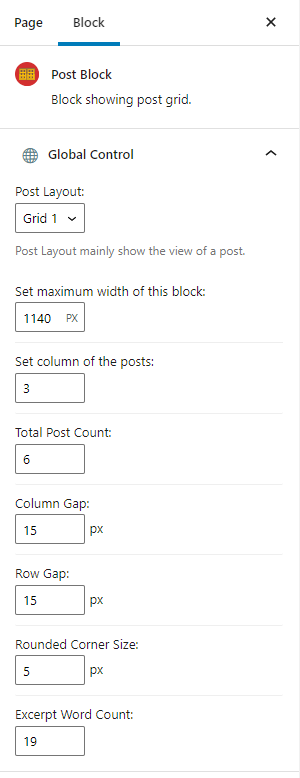
- So, go to the right-side toolbar and click on Block.
From here, you will get to use all the features and customization options of this plugin to design your post block.
Step 3: Set Up The Grid Layout
Now, from the block section, click on the Global Control menu. And this is what the global control settings look like.
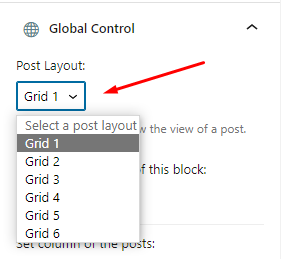
Now, it’s time to add the grid layout to your website posts. So, from the post layout option, you just need to click on the downward arrow to get all the grid layout options. This plugin comes in 6 different layouts, including grid, list, and overlay.
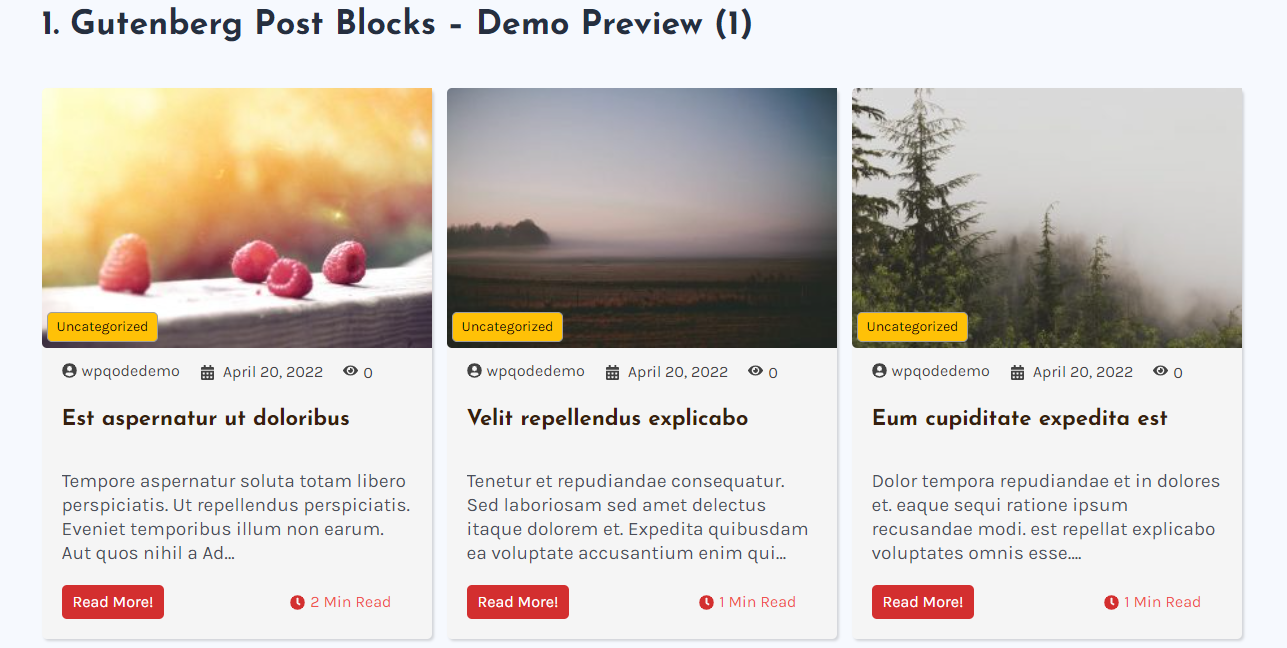
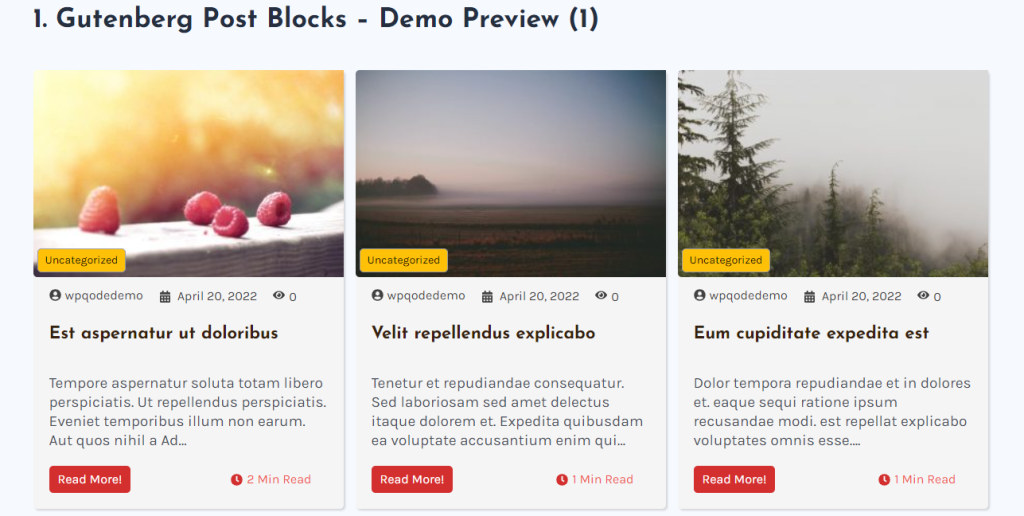
So, choose any of the 6 grid options available. And here is an example of what the posts look like after adding to a grid.
Next up, you can set the maximum width of your block. Then you can also specify the column number; this implies the grid where your posts will be displayed. For example, if you choose 6 columns, then 6 square boxes will be displayed in one line on your site.
This is not over yet; there are many more options available to customize your post layout. You can adjust the gap between column and row and the rounded corner size. In fact, this plugin allows you to specify the total number of posts you want to display and select the maximum words to excerpt.
Step 4: Customizing The Query Setting
Now that you get the preferred post grid layout for your website let’s experience and make the most out of the more advanced functions of this plugin. This advanced query builder of the Gutenberg Post blocks plugin will help you to make your own changes.
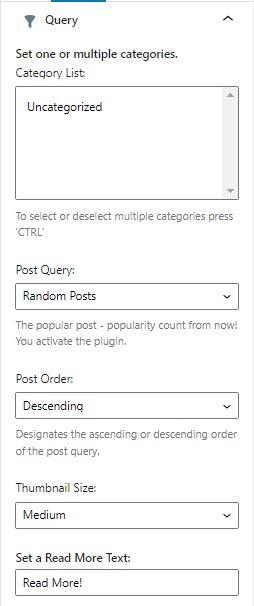
Here you will have the option to customize your posts category-wise by creating a category list and then setting one or multiple categories for your posts.
Not only this, but you can also order your posts by random posts or popular posts, ascending or descending order of the post query, specify the thumbnail size as well as set the featured image’s maximum height.
Finally, you can set a Read More Text button, or if you want you can put your own words.
Step 5: Do Other Customization
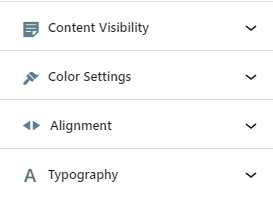
Next up, you can customize the layout by adding or disabling elements as you find them to fit. For example, the content visibility menu offers to enable or disable the following elements from your post layout.

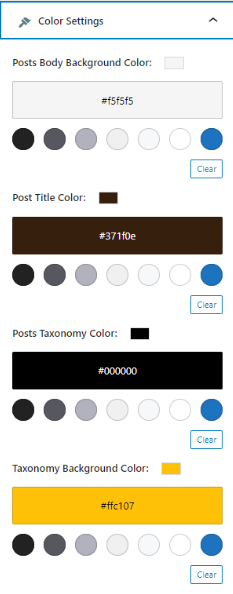
Similarly, you will get to use vast options to set the color of your posts’ body background, title, taxonomy, taxonomy background, meta, meta icon, descriptions, buttons, and all other elements on your layout from the color setting menu.
And just like this, you can specify the pagination alignment of your posts and customize all the titles, meta post buttons, and other elements using the typography menu.
Step 5: Publish The Post
When all the customization is done, publish the post, and now you can enjoy the new look of your wordpress website’s blog posts.
Wrap Up
If you are bored with the simple basic look of your website posts, make the most out of this guide and let your website post shine with the grid layout.
Though the built-in feature in wordpress works pretty well, still, if you need the freedom and flexibility to create something exceptional and creative, this Gutenberg post blocks plugin can help you in this.
So, there you go. That’s all to how to display your WordPress posts in a grid layout. We hope this article helped you display your WordPress posts in a grid layout.
What Is WooCommerce Product Slider and Why Your Store Needs It
Why Do Product Images Matter So Much in Online Stores? When someone visits an online store the…
0 Comments9 Minutes

How to Streamline Your Customers’ Shopping Experience?
The goal for any online store is to make shopping as smooth as possible. When visitors move…
0 Comments8 Minutes

Strengthening Brand-Customer Relationships Through Gamified Loyalty Programs
Creating lasting connections with customers has become increasingly vital as the marketplace grows…
0 Comments6 Minutes

How to Use SEO and SEA Together in Search Engine Marketing
In digital marketing, search engine marketing (SEM) plays a critical role in improving online…
0 Comments10 Minutes

Content Marketing Growth Hacks: Real Shortcuts to Drive Traffic
Are you still lagging in content marketing? Sticking to these old strategies seems…
0 Comments10 Minutes

How to Build a Strong Local Following Using Social Media Marketing
In the days of likes, shares, and stories, local businesses have a golden opportunity to create…
0 Comments9 Minutes

Why WooCommerce is the Best Choice for Your Online Store?
WooCommerce stands out as a top option for anyone looking to build an online store. This platform…
0 Comments8 Minutes
How to Use AI-Powered SEO Tools for WordPress eCommerce
SEO is a critical factor in the success of any e-commerce WordPress store. As competition…
0 Comments11 Minutes