
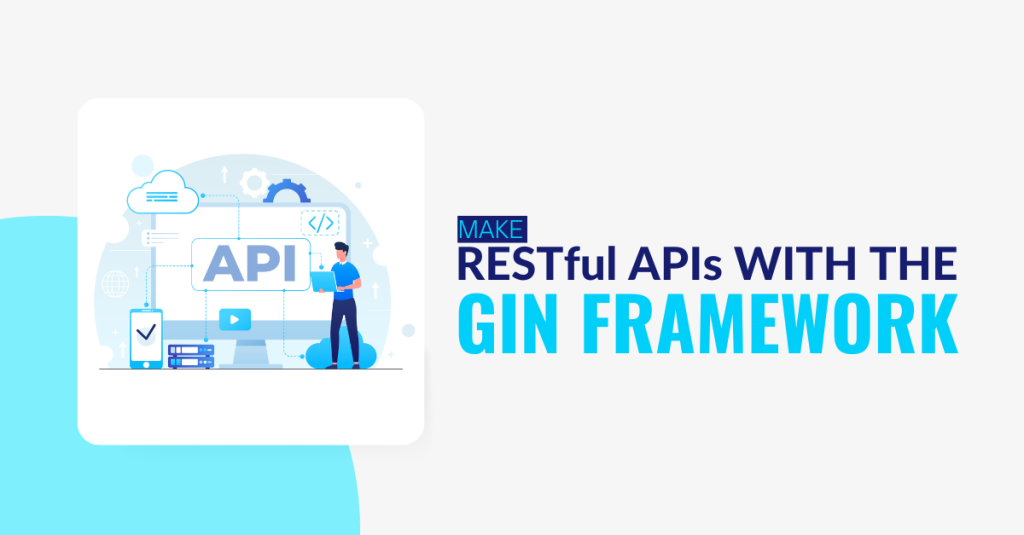
Are you looking forward to creating a REST API with the help of the Gin framework? Then, you should give this blog a thorough read. Through simple steps, you will learn to create a basic API, following which you can undertake other complex projects. And yes, you can work out the stuff on your own without availing Golang development services. But, before we get started, be acquainted with the theoretical aspect of the Gin framework.
- First Task to Accomplish
- You need to make a directory first in your go-workspace. You’ll use the Command Prompt if you’re using a Windows computer. Use the Terminal if you use macOS or Linux as your operating system.
- I’ll be employing the Command Prompt in this scenario.
cd go-workspace
mkdir job
cd job
code .
As we type code ., we get to see the VS Code launches. In your case, it might be a different IDE or editor.
- Get Started with the VS Code
- The first thing that we will do is create a main.go file. Following this, we have to download the gin framework in order to create the REST APIs.
- We now have to build a go.mod file. We type:
go mod init golang.com/job
- Following the creation of the go.mod file, we will type:
go get github.com/gin-gonic/gin
This will cause the go.sum file to be created as well as all the necessary packages related to the gin framework to be downloaded.
- Let’s Get Started with a SImple API
- We just write down the code
package main
import (
“fmt”
“net/http”
“github.com/gin-gonic/gin”
)
func main()
{s :=gin.Default()
s.GET (“”, func (c *gin.Context){
c.String(http.StatusOK, “What is the job role?”)
})
s.Run (“localhost: 8000”)
}
- As you can see, we have imported every package that the application requires. We then proceed directly to the function main. What we are doing is building a recovery or logger middleware default module for Gin.
- The default settings are included in the variable “s.” And we’ll use this variable to aid in GET API development. The first argument I’ve given in this example is the URL of the API.
- The base URL specified by w.Run(“localhost:8000”) will be used to host the API at localhost:8000. Furthermore, the first argument actually indicates the relative route of the API.
- The handler function func (c *gin.Context) refers to the function sequence that you can give.
- The pointer to the variable *gin.Context serves as the function’s argument. Therefore, the “c” in this instance stands for context.
- The context must return a value that is either c.String or c.JSON. Here, there are two criteria in operation. The state is indicated by the first argument, a straightforward integer (http.StatusOK). We can use this because we imported the net/http package.
- I’m merely sending a sample string after this. It is “What is the job role?”
- Let’s Run the Above Program
In order to run the program, we have to type go run main.go.

- As you can see, there is the presence of a GET request on a blank URL. It also comes with a customisable function. In addition, the engine’s release mode operation is visible. There is a single active endpoint at localhost 8000.
- In a web browser, we may type localhost:8000 to see:

- In the meantime, you will get to see the following snapshot in the VS Code

What does this mean? Well, the gin framework is playing a massive role here in monitoring the response time of the code that is executed.
- Concentrating on GET API where Parameter Passing is Handled by the URL
The code that follows assumes that the API will provide you with a value, ideally a string, in response to the URL.
s.GET(“/:get”, func (c *gin.Context){
var val = c.Param(“getr”)
c.JSON(http.StatusOK, gin.H{
“responsedata”:val,
})
})
//2nd section
- We may provide each variable name into the GET request by separating them with a colon. Everything entered after the basic URL will therefore be considered a “get”.
- To determine the value of the “get,” we must define the context of Param and the name of the variable we have mentioned. Val will receive the ‘get’ from Gin and be informed of the outcome.
- Next, we see that I am transferring a JSON that contains the value.
Are you working on something complex? Then it would be the best idea to avail Golang development services in case you stumble upon an issue and cannot fix it.
- Let’s Run the Program Above
- Again, we will have to run the program by typing go run main.go.
If you see a message ‘tcp 127.0.0.1: 8000: bind:Only one usage of each socket address (protocol/network address/port) is normally permitted.’, then you have to carry out an operation in Command Prompt.
nestat -ano | findstr :8000
Check for the value of LISTENING (for instance 7932), then you have to type
taskkill / pid 7932 /F
This will lead to the termination of the pid process.
- On the browser we perform the following:

The reason we had to enter a string after stating localhost:8000 is because the API expects a string from the URL.
- Trying a POST API
- We’ll attempt to connect to a POST API here. Furthermore, we are aware that data will be present in the body. This is when the struct will come in handy.
- Do you recollect this section?
package main
import (
“fmt”
“net/http”
“github.com/gin-gonic/gin”
)
- Following this, we will create a struct having two data fields, as you can see:
type Job struct {
Salary int `json:”salary” binding: “required”`
Name string `json:”name” binding: “required”`
}
- The json:”salary” and json:”name” represent the different keys. You can also see that the binding has been specified as “required”.
- Following the //2nd section, we will type:
s.POST(“/highlight”, func (c *gin.Context){
var data Job
if err := c.ShouldBind(&data); err != nil{
fmt.Println (err)
c.JSON(http.StatusBadRequest, gin.H{
“error”: fmt.Sprintf(“%v”, err),
})
} else{
c.JSON(http.StatusOK, gin.H{
“data” : data,
})
}
})
- Let’s look at this code block. In the s.POST, we will construct the object for the Job. The context “c” should then attach to the data model after that. If c.ShouldBind(&data) throws an error, it will alert the API of the problem.
- I made a bad request that demonstrates the error that was observed in “error”:fmt.Sprintf(“%v”, err) in c.JSON(http.StatusBadRequest).
- If there are no problems, the “data” key will be used to transmit the data back to the API response.
- Let’s Run the Final Block of Code
- Let’s now examine the program’s final stage. We must type go run main.go to do this. Additionally, I’ll use Postman to show how the API works and how the code works. The desktop version just needs to be installed.
- You can see that I have two data fields in the body if you look at the screenshot below. Raw and JSON should be the choices for the Body.

- As we click on ‘Send’, we will get to see the following result:
{
“data”: {
“salary”: 23000,
“name”: “Robert Hall”
}
}
Were you able to understand the program? Yes? Then, great. In the last case, we get to see three APIs running, the one with nothing mentioned in the URL, the one that expects a string and then the final one that expects values in the body. Hopefully, you can tackle some challenging REST API tasks now.