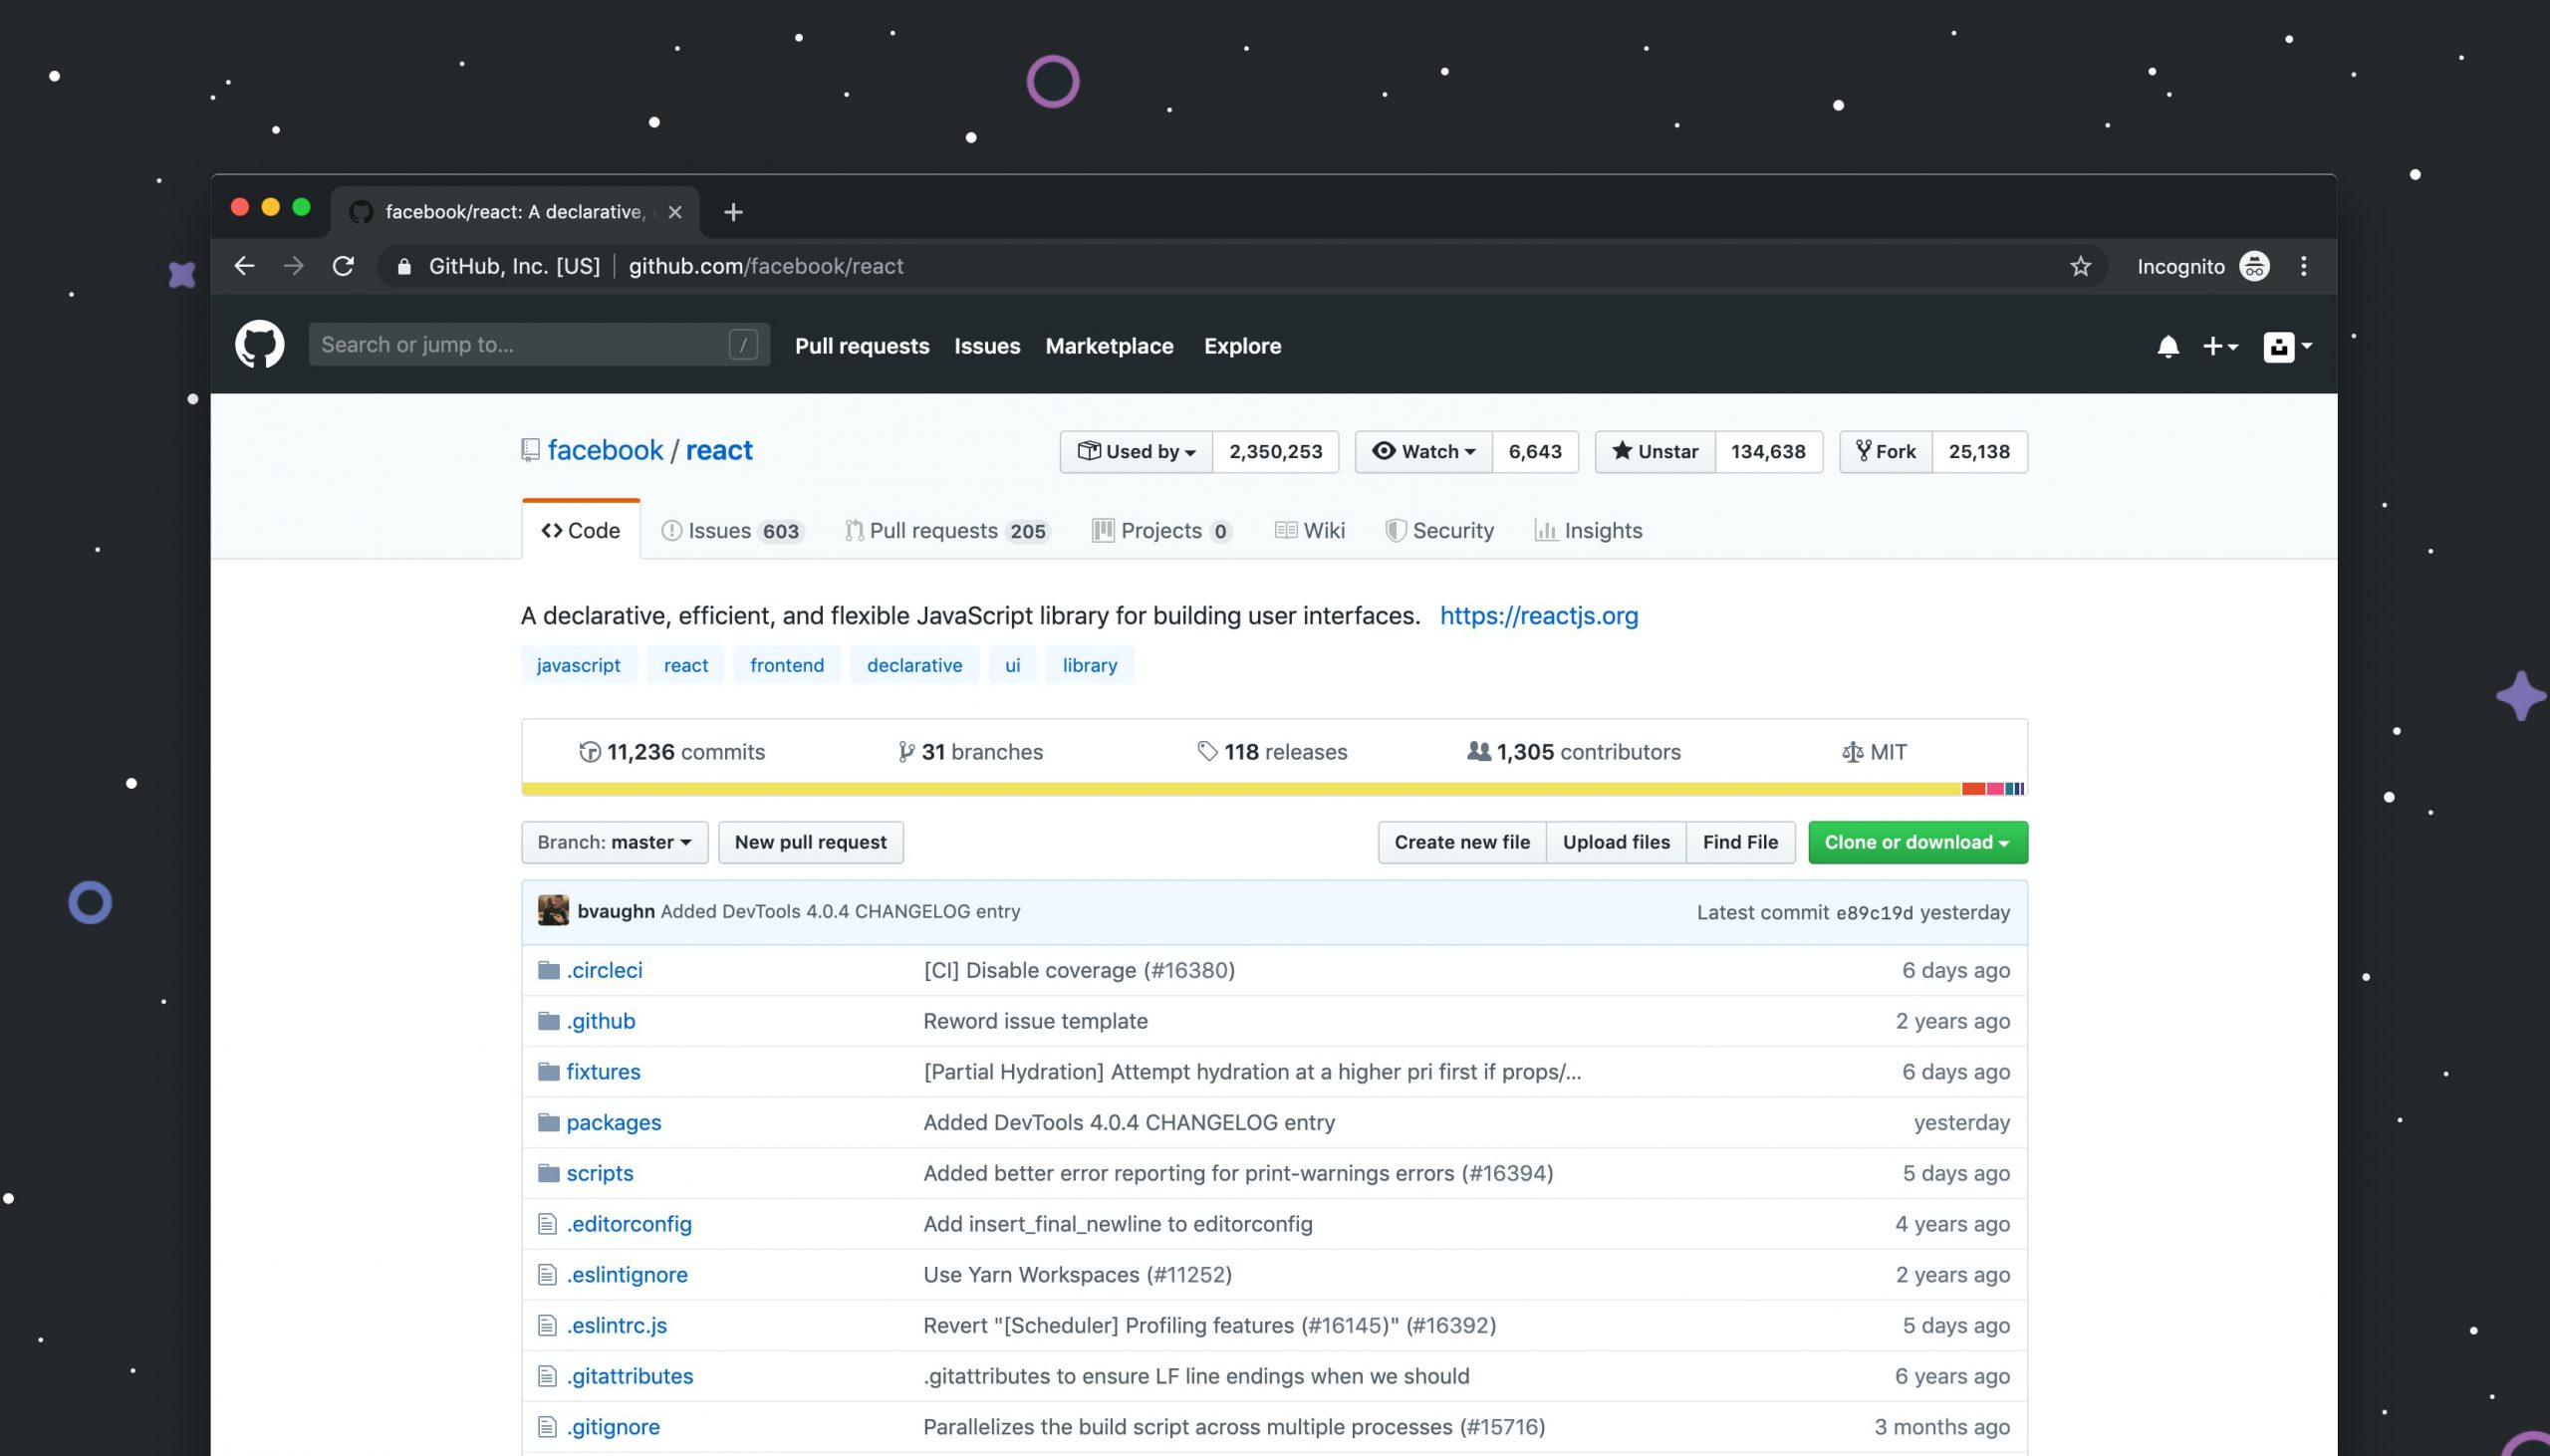
How To Use Screenshots Effectively In Your Content
When writing high-quality content for your website, be it blog posts or in-depth guides and whitepapers, providing references is essential.
Quick Links
If you don’t show evidence for your theories, then you’ll devalue your work and won’t achieve the reader engagement that you want.
While providing links to relevant sources is a great way to prove your points, you also need to provide a visual representation of your findings.
Images, including screenshots, are highly effective at enhancing your blog posts and other written content, but they need to be used correctly to have the best possible impact.
Not only will they make readers more engaged, but they will also help you with your web archiving and compliance. You can prove that, at the time of publication, a specific piece of content or comment was online, which might since have been removed.
For any content creator who’s unsure of how to use screenshots in their work, we’ve shared our top tips.
Find The Perfect Screengrab Tool
When you’re looking to capture a screenshot, you need a tool that has the features that you need and is more comprehensive than your computer’s basic print screen tool. Try to find a tool that meets your exact needs- for example, if you’re looking to edit your screenshot and add commentary, then you might need a design tool.
On the other hand, if you want your tool to help you with your web archiving and compliance by capturing exact content in real-time, then you might consider this tool from Grabz.it. It automatically grabs screenshots at set intervals when you visit your target sites, so that you can save time and have all the screenshots you need as a backup to inform your content and prove your points.
Keep Your Screenshots Organised
Whether you’re taking your screenshots manually, or having them captured automatically, it’s crucial that you organise your screenshots so that you can always find the ones you need for your content.
Try to create separate folders for each piece of content, and if you’re automatically capturing a lot of screengrabs then consider making additional folders for each website that you’re capturing from, so that you can always find what you need. Once you’ve set up your folders, you can sync them with any automatic screengrab tools you’re using, so that they always deposit your screenshots into the correct folder.
Add A Timestamp
If you’re using screenshots for compliance and to analyse details for an investigative piece, then not only will you need automatic screenshot grabbing, but also an app that can add a timestamp to prove that your image was taken at a specific date and time.
Many app creators offer innovative timestamp apps for iOS and Android phones, so you can have one on hand at all times for those pesky work emergencies. On your desktop computer or laptop, most photo-editing software offers you the chance to date and timestamp your images, so check if yours already has that capacity and then start using it to prove your points.
Check Your Screenshots Before Posting
We’ve all heard the horror stories of journalists and bloggers who’ve accidentally posted screenshots that contain confidential or embarrassing information, and no one wants that to happen to them.
The best way to avoid mistakes is to take extra care, and that means checking your screenshots before you post them. If you notice anything that needs removing, then crop it out, or put a black stripe over it to keep your data and information safe.
Using screenshots is an easy way to integrate images into your blog posts, but you need to get it right. This guide should help you to make the right choices and create amazing content and screenshots that support it.
What Is WooCommerce Product Slider and Why Your Store Needs It
Why Do Product Images Matter So Much in Online Stores? When someone visits an online store the…
0 Comments9 Minutes
How to Streamline Your Customers’ Shopping Experience?
The goal for any online store is to make shopping as smooth as possible. When visitors move…
0 Comments8 Minutes
Strengthening Brand-Customer Relationships Through Gamified Loyalty Programs
Creating lasting connections with customers has become increasingly vital as the marketplace grows…
0 Comments6 Minutes
How to Use SEO and SEA Together in Search Engine Marketing
In digital marketing, search engine marketing (SEM) plays a critical role in improving online…
0 Comments10 Minutes
Content Marketing Growth Hacks: Real Shortcuts to Drive Traffic
Are you still lagging in content marketing? Sticking to these old strategies seems…
0 Comments10 Minutes
How to Build a Strong Local Following Using Social Media Marketing
In the days of likes, shares, and stories, local businesses have a golden opportunity to create…
0 Comments9 Minutes
Why WooCommerce is the Best Choice for Your Online Store?
WooCommerce stands out as a top option for anyone looking to build an online store. This platform…
0 Comments8 Minutes
How to Use AI-Powered SEO Tools for WordPress eCommerce
SEO is a critical factor in the success of any e-commerce WordPress store. As competition…
0 Comments11 Minutes


